WTF's Archives

5.28.2012

Pretty girls have pretty hair #thesummerseries


From Top Left: Twisted Buns (here), Braided Crown (here), Mermaid Tail (here), Chestnut Bun (here)

If you knew me personally, you would know that I hate doing my hair in the morning. My hair is really straight (so straight that braids have trouble staying in). Therefore, I basically put my hair up in a low and messy bun. But when I found some awesome hair tutorials on A Cup of Joe, I couldn't help but be amazed how pretty some of them were! Above are four of my favorite and the ones that I really want to try this summer! Don't you love how natural and effortless they look? 

Let me know which is your favorite!

5.12.2012

Hot, Hot Pink


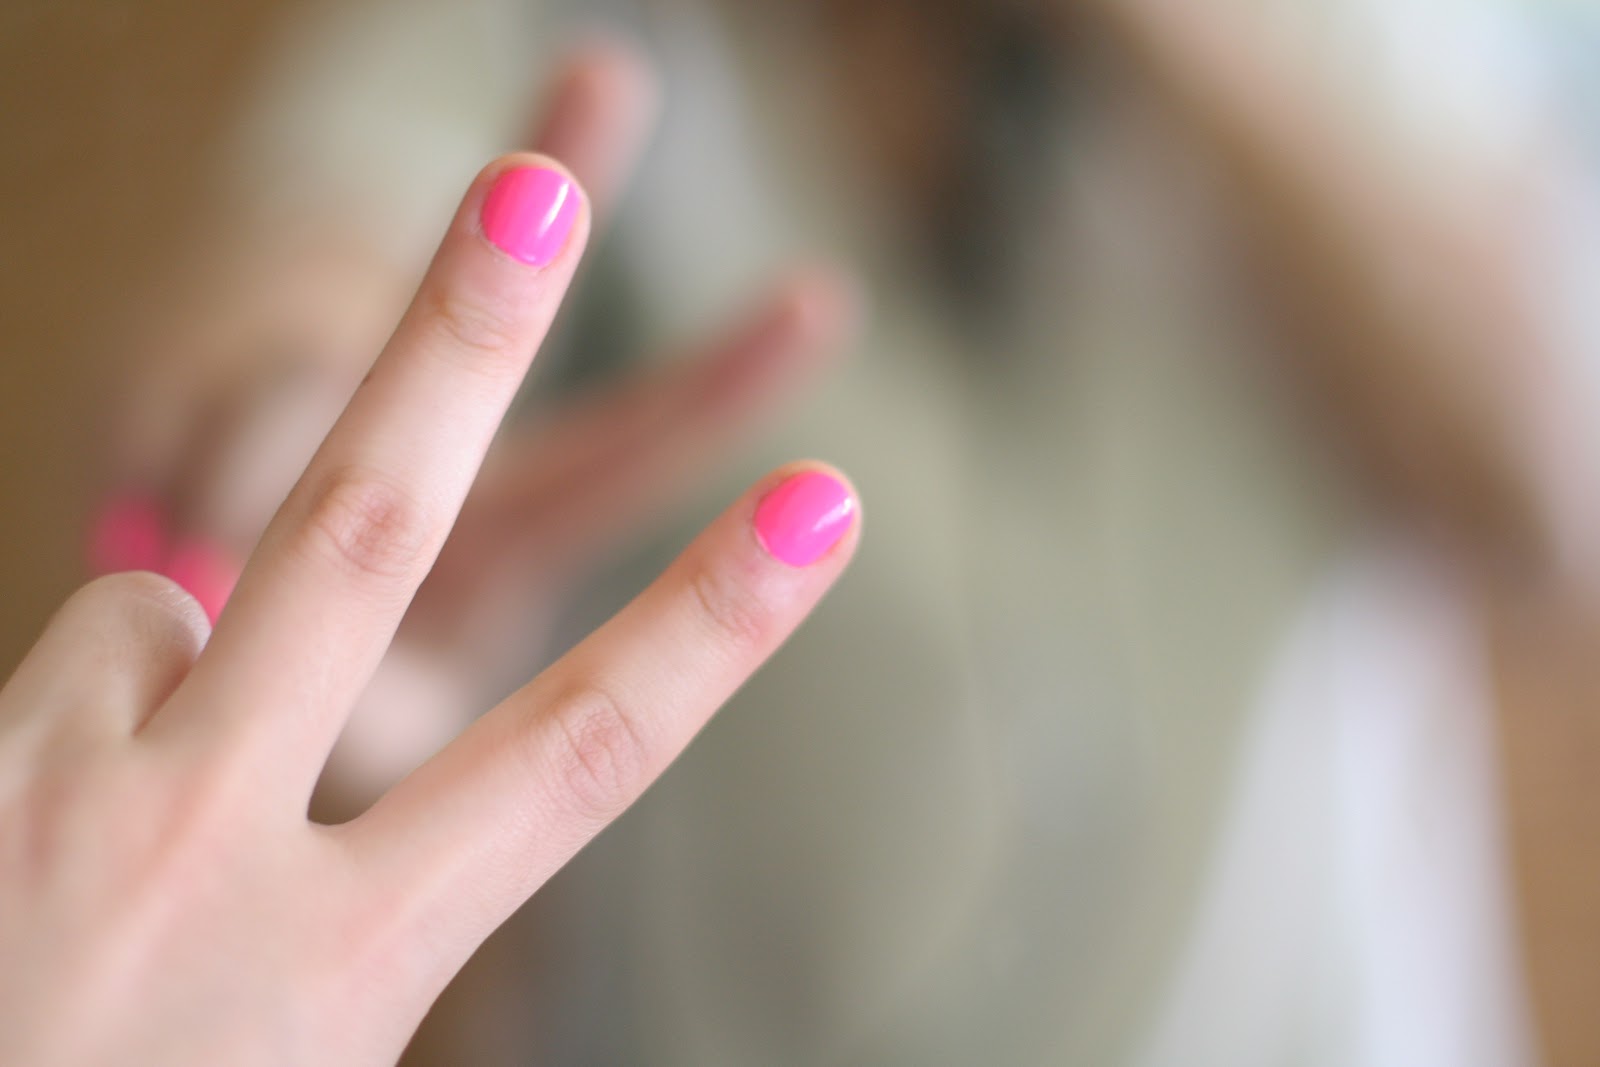
China Glaze in Shocking Pink

As a nail polish fanatic, I can't help but to feel a rush of excitement when I spot a color I've never seen before! I was just in the store, cruising down the aisles, and perusing the nail polish colors. Then, BAM! I see this amazing hot pink color in the corner of my eyes and my life pretty much changed (over exaggerating, but you get the point). This happened two weeks ago and I haven't taken it off since; for that matter, my nails haven't chipped at all, which I'm really impressed by!

Anyways, this color is perfect for people who want to jump in on the neon trend. I'm going to look for other neon polishes (yellow, green, blue, and purple are on the list!!). So if you have any suggestions, hit me up!

4.05.2012

Basket Weave Nail Tutorial


Essie Turquoise & Caicos and Barefoot in Blue
 Sally Hansen nail art pen in blue

So this is a first for my blog; a nail tutorial! If you don't know already, I am a nail polish fanatic! I recently ordered some Sally Hansen nail art pens from Amazon (they're a lot cheaper online) and was searching the web for some cool nail art designs! So I came across the "basket weave" pattern, which I thought looked pretty chic/cool. Below are some steps to follow in order to achieve this look!

1. Paint your nails with your favorite color! (I used alternating colors for funsies)
2. Take your nail art pen and draw several diagonals lines from the bottom left corner to the upper right corner.
3. Then, draw more diagonal lines in the opposite direction.
4. Finish it off by filling in the empty space with horizontal lines!
5. Optional, but you can apply a top coat for a shiny finish!

3.23.2012

Lush Lip Scrub DIY


I picked up Lush's Bubble Gum lip scrub a couple of months ago and paid an outrageous $8 for this little baby. Don't get me wrong; the lip scrub works really well! But I decided that I would try to make it myself. My DIY version isn't exactly like what Lush sells, but it's a pretty good alternative. Follow the simple steps below to learn how to make your own lip scrub!


  1. Take any empty container that'll hold your lip scrub. I wanted to put it into a clear glass pot, but unfortunately, I could only find this (hideous) tupperware container. 
  2. Mix 3 teaspoons of granulated sugar and 1 teaspoon of oil. After experimenting, I found that the lip scrub works better when there's more sugar than there is oil.
  3. Add one drop of red food coloring if you want to make your lip scrub pink! Don't put too much in, or else the lip scrub will taste bitter!
  4. Apply onto lips! I usually lick it off of my lips when I'm done stubbing because it tastes so darn good : )


3.17.2012

Stain Glass Nails


I decided to give myself an @ home manicure. When I was looking online for nail art designs, I found this really awesome one inspired by geometric designs! So I decided to try it on my own, and this is the end result! It was much harder because I didn't have any nail art pens, but I managed to do it with toothpicks! 

What do you think about my nails?